Query sensor data with the Python SDK
You can use the data management service to capture sensor data from any machine and sync that data to the cloud. Then, you can use the Python SDK to retrieve and query that data. For example, you can configure data capture for several sensors on one machine, or for several sensors across multiple machines, to report the ambient operating temperature. You can then write a script to run queries against that data to search for outliers or edge cases, to analyze how the ambient temperature affects your machines’ operation or to take action if the machines are overheating.
Prerequisites
Set up the Python SDK
Query data with the Python SDK
1. Create an API key
To access your machines using the Python SDK, you must use an API key:
viam organizations api-key create --org-id <org-id> --name my-api-key
2. Use the API key with the data_client
Use the API key and TabularDataByFilter(), TabularDataBySQL(), TabularDataByMQL(), andDeleteTabularData() to query data:
import asyncio

from viam.rpc.dial import DialOptions, Credentials
from viam.app.viam_client import ViamClient
from viam.proto.app.data import Filter


async def connect() -> ViamClient:
    dial_options = DialOptions(
      credentials=Credentials(
        type="api-key",
        # Replace "<API-KEY>" (including brackets) with your machine's API key
        payload='<API-KEY>',
      ),
      # Replace "<API-KEY-ID>" (including brackets) with your machine's
      # API key ID
      auth_entity='<API-KEY-ID>'
    )
    return await ViamClient.create_from_dial_options(dial_options)


async def main():
    # Make a ViamClient
    viam_client = await connect()
    # Instantiate a DataClient to run data client API methods on
    data_client = viam_client.data_client

    my_filter = Filter(component_name="my-sensor")
    data, count, id = await data_client.tabular_data_by_filter(
        filter=my_filter, limit=5)
    # This query requests all stored data grouped by hour and calculates the
    # average, minimum, and maximum of the memory usage
    data = await data_client.tabular_data_by_mql(
      organization_id=organization_id,
      mql_query=[
        bson.dumps({'$match': {'location_id': '<location-id>'}}),
        bson.dumps({
          "$group": {
            "_id": {
              "year": {"$year": "$time_requested"},
              "dayOfYear": {"$dayOfYear": "$time_requested"},
              "hour": {"$hour": "$time_requested"}
            },
            "count": {"$sum": 1},
            "max_mem": {"$max": "$data.readings.mem.used_percent"},
            "min_mem": {"$min": "$data.readings.mem.used_percent"},
            "average_mem": {"$avg": "$data.readings.mem.used_percent"}
          }
        })
      ])

    viam_client.close()

if __name__ == '__main__':
    asyncio.run(main())
Adjust the Python script to uery your data further.
Next steps
On top of querying sensor data with the Python SDK, you can also query or visualize it with third-party tools.
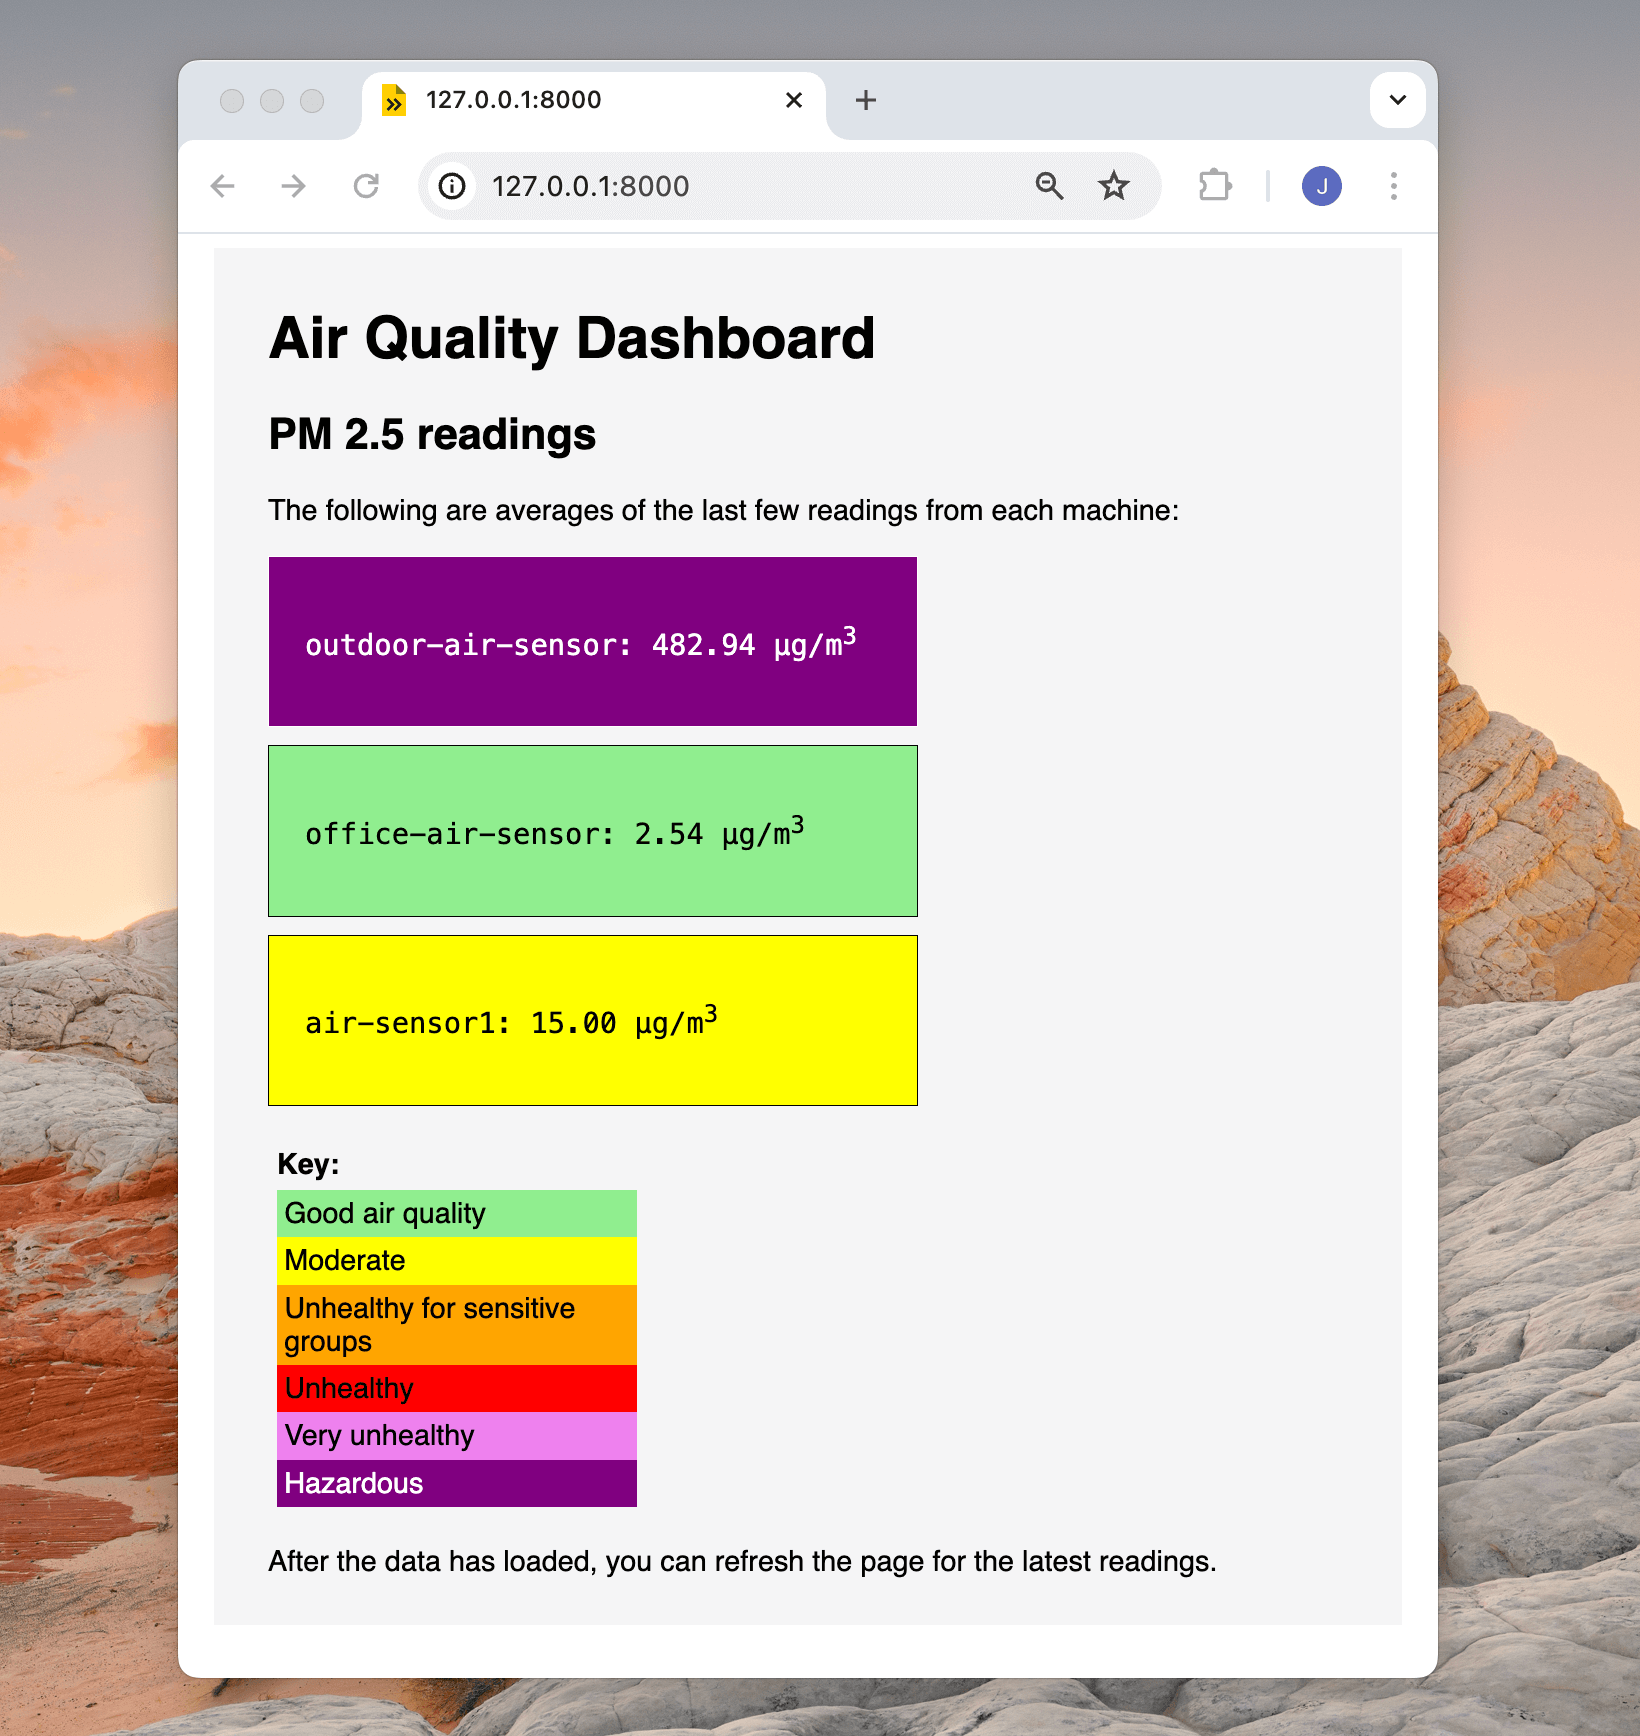
To see sensor data in action, check out this tutorial:
Have questions, or want to meet other people working on robots? Join our Community Discord.
If you notice any issues with the documentation, feel free to file an issue or edit this file.
Was this page helpful?
Glad to hear it! If you have any other feedback please let us know:
We're sorry about that. To help us improve, please tell us what we can do better:
Thank you!
